7 Tips for Buying Used Measurement Devices
Buying Used Measurement Devices can reduce costs, but a low price does not guarantee reliable performance. A scratched enclosure may hide years of careful laboratory use, or a serious shock. A clean display may still conceal unstable readings. The real decision depends on evidence, not appearance.
Metrology authority William Thomson, Lord Kelvin, famously said, “When you can measure what you are speaking about, and express it in numbers, you know something about it.” He was not discussing modern used instruments, yet his principle remains highly relevant. Buyers should examine measurable facts, including calibration history, accuracy specifications, operating hours, firmware versions, and test results. A seller’s confident description is useful, but it is not proof.
This guide presents seven practical tips for evaluating Used Measurement Devices before payment. It considers brand reputation, model age, connector condition, display behavior, included accessories, and service availability. A multimeter may power on perfectly while failing a precision check. A spectrum analyzer may look excellent while needing an expensive calibration. Small details matter.
Some judgments remain uncertain. Even experienced technicians can overlook hidden damage or outdated software. That is why a documented inspection is safer than a quick bargain. Ask for serial numbers, recent calibration certificates, and clear photographs of ports and labels. Confirm the return policy in writing.
The following tips are designed to make comparison more disciplined, realistic, and repeatable. They will not remove every risk. They can help you recognize the risks before they become operating costs.
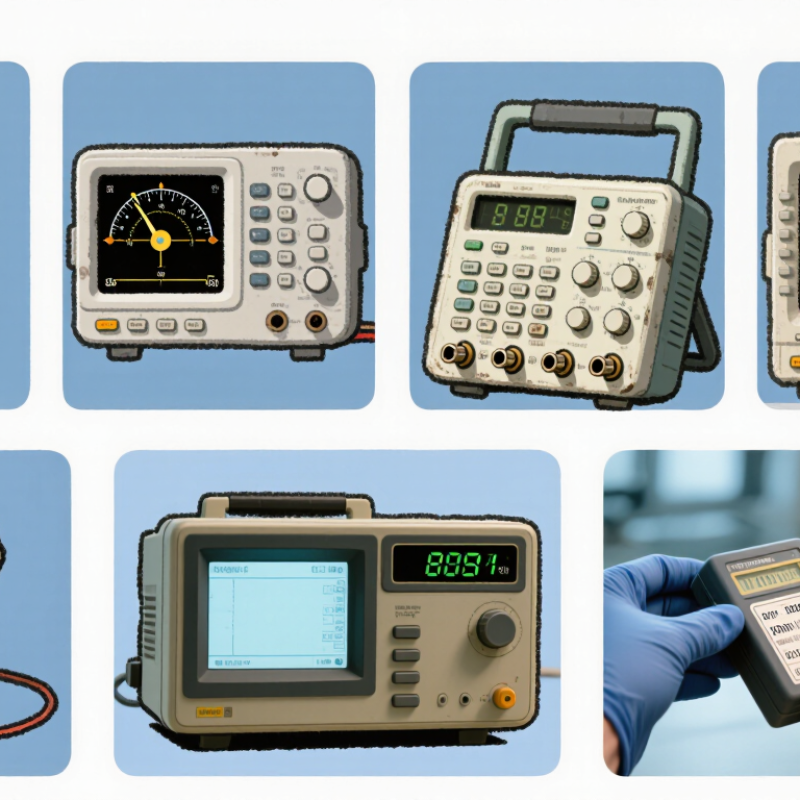
Define Your Measurement Needs and Required Specifications
Before buying a used measurement device, define the measurement task precisely. Identify the quantity, range, resolution, accuracy, environment, and testing frequency. A bench multimeter for laboratory work may fail in a dusty workshop. A device rated for voltage might not handle high-frequency signals safely.
Write the required specifications before checking listings. Compare accuracy as a percentage of reading, not only displayed resolution. NIST Technical Note 1297 explains that an expanded uncertainty with a coverage factor of k=2 usually represents approximately 95% coverage. That figure matters when your tolerance is narrow. Also check temperature limits, input protection, connector types, software compatibility, and calibration history. Small details become expensive surprises.
Ask for the serial number, previous service records, and a recent calibration certificate. ISO/IEC 17025 emphasizes technically valid results and measurement traceability. However, a certificate alone proves little if the tested range excludes your application. Request “as-found” data when possible. It shows performance before adjustment. Inspect worn switches, cracked insulation, faded labels, and unstable readings after warm-up. Used equipment often looks cleaner than it performs. I have seen buyers overvalue a low purchase price and overlook replacement sensors, batteries, or obsolete firmware. That mistake is easy to repeat. Define an acceptable uncertainty budget, then reject devices that cannot support it.
7 Tips for Buying Used Measurement Devices: Define Your Measurement Needs and Required Specifications
Before purchasing a used instrument, identify the highest expected signal, the required measurement range, and the accuracy needed for your application. The reference profiles below show common voltage-measurement requirements without relying on any brand-specific data.
Choose a used device with a range above the maximum expected input and an accuracy suitable for the tolerance of your measurement. For example, a 0–10 V control signal typically requires an instrument capable of measuring at least 10 V, while mains testing requires a substantially higher voltage range and appropriate safety certification.
Inspect Physical Condition and Verify Measurement Accuracy
Buying a used measurement device begins with your hands, not its listing. Examine the housing under bright, angled light. Look for cracks, bent panels, loose screws, corrosion, and worn labels. Deep scratches near terminals may indicate frequent abuse. Check knobs and switches for smooth, consistent movement. They should not feel gritty. Inspect cables, probes, sockets, seals, and battery compartments. A clean exterior can still hide damage. I once trusted a tidy enclosure and overlooked a loose input connector. That small mistake changed the readings under load.
Physical condition matters because it can affect measurement accuracy. Ask for recent calibration records with dates, test points, and traceability details. A certificate without those details deserves caution. Power the device and allow its recommended warm-up time. Check zero stability before applying a known reference. Then test several points across its operating range. Repeat each reading at least three times. Watch for drift, unstable digits, or delayed responses. Compare results with a trusted reference instrument with documented uncertainty. Do not accept one matching reading as proof.
I sometimes rush this step when a price looks attractive. That is poor practice. Temperature, humidity, vibration, and battery condition can influence results. Record the environment and displayed values during testing. Ask whether repairs, overloads, or storage problems are known. Missing accessories can also limit safe, accurate operation. If the seller cannot provide basic history, reduce your confidence, not your inspection standards. A short hands-on test often reveals more than polished photographs. When accuracy is critical, arrange independent verification before payment.
