Discover Exciting Plastic Manufacturing Jobs at Allied Plastics

7 Tips for Choosing the Right Bottle Labeling Machine?

Choosing the right Bottle Labeling Machine can shape production speed, product presentation, and daily operating costs. A machine may look impressive in a demonstration, yet struggle with dusty containers, uneven surfaces, or frequent label changes. Small details matter.

This guide introduces seven practical tips for evaluating equipment before making a purchase. The advice reflects common observations from packaging environments, where operators manage pressure-sensitive labels, round bottles, tapered containers, and changing production volumes. A reliable machine should apply labels accurately, support sensible maintenance, and fit the existing line without unnecessary complexity. Speed alone is not enough.

Bottle size, label material, adhesive behavior, conveyor design, and control settings all deserve close attention. Asking for sample testing can reveal wrinkles, bubbles, slipping labels, or inconsistent placement. That evidence is more useful than a polished sales presentation. It also helps teams compare real performance against technical claims.

No machine is perfect. Even a well-built system may need adjustments when temperature, humidity, or bottle shape changes. That part is easy to underestimate. A careful decision includes operator training, spare-part access, safety features, cleaning requirements, and future production plans. It should also consider whether local technical support can respond when downtime becomes expensive. The following seven tips provide a clear framework for comparing machines, questioning assumptions, and selecting equipment that remains practical after installation. Some recommendations may not fit every facility, and that limitation deserves honest attention.
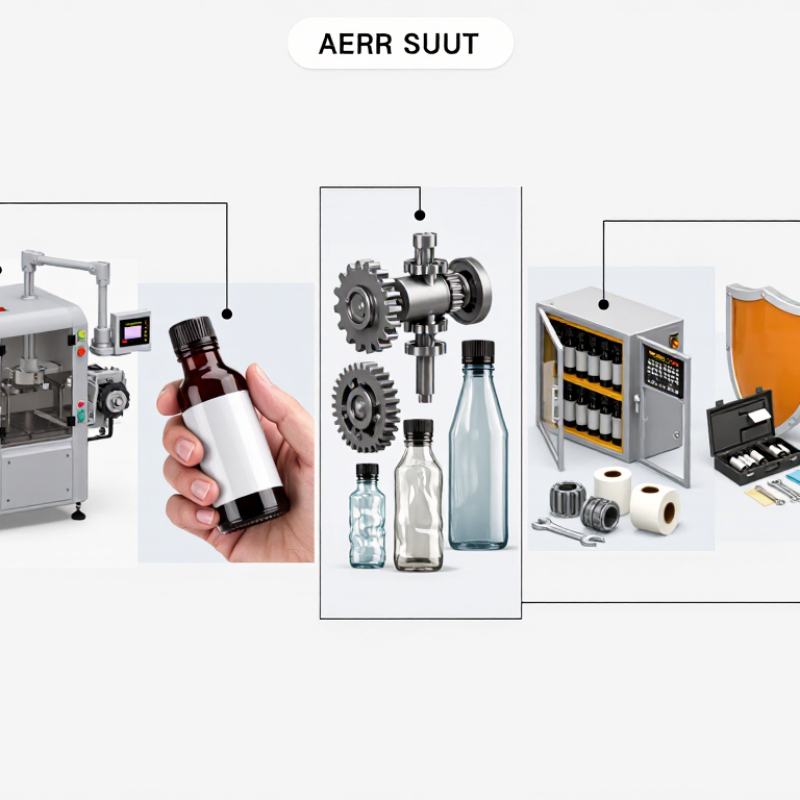
7 Tips for Choosing the Right Bottle Labeling Machine?

Identify Bottle Shapes, Sizes, and Materials

7 Tips for Choosing the Right Bottle Labeling Machine

Tip 1

Identify the bottle shape before reviewing machine specifications. Round bottles usually need controlled rotation, while square or tapered bottles require careful side alignment.

Tip 2

Measure the container at its widest and narrowest points. Include shoulders, necks, and recessed surfaces. Small curves can create wrinkles or lifted edges. In practice, I have seen attractive labels fail because measurements covered only the bottle body. Do not trust appearance alone.

Tip 3

Check the full range of bottle sizes you will run. A machine suitable for one container may struggle with a smaller bottle.

Tip 4

Test height, diameter, and spacing between bottles on the production line. Leave enough clearance for stable movement.

Tip 5

Confirm the material, including glass, plastic, metal, or flexible packaging. Each surface affects adhesion, pressure, and label placement. Clean surfaces matter. Dust, condensation, and oil can quietly reduce performance.

Tip 6

Request trials using your actual bottles and labels. Watch for slipping, creasing, gaps, and inconsistent placement during continuous operation.

Tip 7

Test unusual shapes, not only ideal samples. A tapered bottle may look simple but behave differently at speed. I would also record results under warmer and cooler conditions. One test is rarely enough. This process takes time, yet it reveals weaknesses that a specification sheet may hide.

Define Label Types and Placement Requirements

7 Tips for Choosing the Right Bottle Labeling Machine?

Define Label Types and Placement Requirements

Before choosing a bottle labeling machine, identify the label material, shape, size, and adhesive. Paper labels behave differently from synthetic films. Clear labels also demand accurate placement, because trapped air becomes highly visible. Measure the bottle’s diameter, taper, shoulder, and surface texture. Small differences can affect application quality.

Placement matters just as much. A front label may need tight alignment with the bottle seam or handle. Wraparound labels require consistent tension and controlled overlap. Neck labels need a suitable applicator and careful height adjustment. Some bottles need two labels, positioned on opposite sides. Write these requirements down.

Use real samples during testing. Empty containers are not enough. Fill bottles with the intended product, then check movement, condensation, and surface stability. I have seen labels apply smoothly in a dry workshop and wrinkle later in production. That mistake is easy to make. Test at slow and normal speeds. Inspect corners, edges, gaps, and label angles under bright light. A machine that handles one bottle perfectly may struggle with another size. Leave room for adjustment, because practical conditions rarely match the original specification.

Compare Machine Speed, Accuracy, and Production Capacity

Choosing a bottle labeling machine requires more than reading its maximum speed. Compare speed, accuracy, and production capacity under real operating conditions.

A machine rated at 200 bottles per minute may run slower with tapered bottles, condensation, or frequent size changes. PMMI’s 2023 U.S. Packaging Machinery Shipments Report valued the market at approximately $10.2 billion, showing strong investment in automated equipment. That investment deserves measurable results. Ask suppliers for tested output, changeover time, and uptime records. Check whether the speed is measured with empty containers or finished products.

Accuracy protects both appearance and material costs. Request label placement data, including tolerance in millimeters, across different bottle shapes. A practical trial should run for several hours, not only ten minutes. Inspect wrinkles, skewed labels, adhesive buildup, and rejected bottles. Small errors become expensive at high volume. Do not trust one impressive sample.

Production capacity must match future demand, not only today’s order. Calculate hourly output after breaks, cleaning, adjustments, and maintenance. The OEE Foundation commonly identifies 85% OEE as a world-class benchmark, while many plants operate near 60%. Use this gap carefully; OEE figures vary by process and measurement method. A spreadsheet can still mislead. Compare usable output, not brochure speed. Also review conveyor compatibility, operator training, spare-part access, and expansion options. The fastest machine may create more waste when changeovers are frequent.

Evaluate Changeover, Controls, and Integration Needs

Choosing a bottle labeling machine requires more than checking its maximum speed.

In daily production, changeover time often matters more. A line may switch from 250 ml bottles to 750 ml bottles several times per shift. Look for tool-free adjustments, clear format markings, and recipes that store proven settings. Operators should change guides, label rolls, and sensor positions without guesswork. A ten-minute delay can become an expensive hour.

Controls should match the team’s real experience. A responsive touchscreen, simple prompts, and visible fault messages reduce avoidable stops. Ask whether the machine records downtime, label waste, and production counts. These details help supervisors identify recurring problems instead of relying on memory. I once underestimated the value of glove-friendly controls during a wet-room installation. That assumption was wrong. Small interface details affected every shift.

Integration deserves equal attention. Confirm communication options with the conveyor, filler, capper, vision inspection, and reject system. The labeling machine should receive stable speed signals and stop safely when upstream equipment pauses. Check whether it can connect with existing production software or export useful data. Request a full line test with your actual bottles, labels, adhesives, and target speeds. A machine may perform well alone but behave differently when conveyor spacing changes. Leave room for future products, too. Overlooking that flexibility can force another costly equipment decision.

Review Supplier Support, Maintenance, and Total Cost of Ownership

Tip 1: Ask suppliers how quickly they answer technical questions. A reliable contact should explain setup, faults, and production limits clearly. Tip 2: Request operator training with practical demonstrations. Watching a label roll change is more useful than reading vague promises. Tip 3: Check whether manuals include diagrams, cleaning steps, and troubleshooting tables. Details matter during a busy shift.

Tip 4: Review maintenance requirements before purchasing. Ask how often rollers, sensors, belts, and applicator parts need inspection. Tip 5: Confirm spare-part availability and delivery times. A small missing sensor can stop a complete line. Tip 6: Compare service options, including remote support and on-site repairs. In my experience, response time often matters more than technical features.

Tip 7: Calculate total cost of ownership, not only the purchase price. Include installation, training, electricity, consumables, maintenance, downtime, and future upgrades. A cheaper machine can become expensive after repeated adjustments. I have seen estimates overlook changeover labor. That mistake is easy to make. Request a five-year cost sheet from each supplier. Then test the machine with your actual bottles, labels, speeds, and environmental conditions. The test may reveal unstable positioning or difficult cleaning. Both deserve careful discussion before approval.

7 Tips for Choosing the Right Bottle Labeling Machine

Illustrative buyer-priority ratings on a 1–5 scale; these are planning prompts, not survey results.

How to use this chart: Rate each supplier against these priorities using your production requirements, written quotations, service terms, and expected maintenance costs. Compare total cost of ownership—not purchase price alone.